
The Art of the High-Gloss Finish: What It Takes and Why It's Worth It
Published: JuNE 25, 2026
There are finishes that look beautiful in a photograph. And then there are finishes that stop you in your tracks the moment you walk into the room. High-gloss lacquer is firmly in the second category. It is the finish that makes a wall feel like it was poured rather than painted, the one that catches the light from across the room and holds it there, shifting almost imperceptibly as the day moves. We have always loved it. And we are very selective about when and where we specify it.
What separates a truly extraordinary lacquer finish from everything else on the market is not the product. It is the process. And that process, when done correctly, is one of the most labor-intensive and exacting undertakings in residential painting. We are currently working on a project with a builder whose team executes this finish at the highest level we have seen, and we look forward to sharing that space with you in the months ahead. In the meantime, we thought it was worth pulling back the curtain on what the high-gloss lacquer process involves, why it commands the investment it does, and how we think about it from a design perspective.
The Process
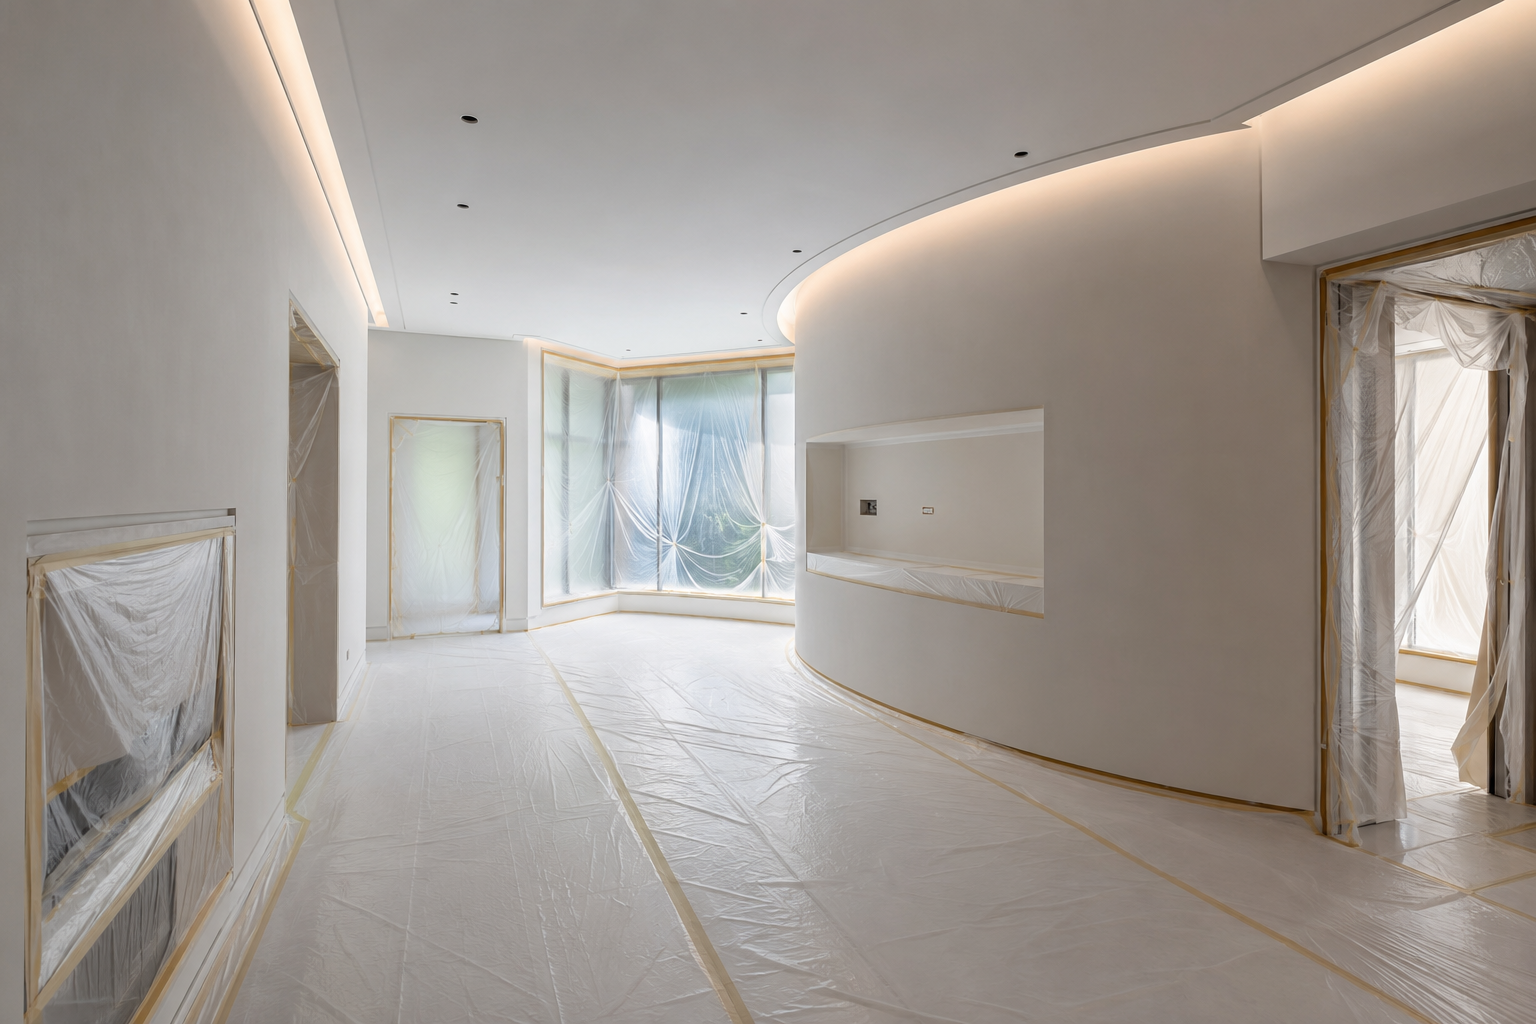
Before a single drop of paint is applied, the room itself must be prepared to a standard that most people would not associate with painting at all. On the project we are currently involved in, the walls are sealed off with protective sheeting to control air quality and prevent dust from settling into the wet surface. What we witnessed firsthand is that in high-gloss work, even airborne particles invisible to the naked eye will show up in the finished product. The environment must be as controlled as the technique.
The process begins with Level 5 drywall, the smoothest achievable substrate, followed by a skim coat of compound over every surface. From there, the painter and drywall team work in a back-and-forth rhythm that can span three or more full rounds: compound, two coats of primer, sand with 320 grit, assess, repeat. This is not a linear process. It continues until the surface meets an exacting standard. If three rounds are not enough, a fourth begins.
Stage two, as our partner describes it, introduces Bondo, the same filler used in automotive bodywork, applied to eliminate any remaining surface irregularities. Two more coats of primer follow, then sanding steps that progress through 400, 600, and 800 grit. At this point the surface has still not seen a drop of finish paint. Caulk is applied to every seam and transition. Only then is the room considered ready for color.
28 Steps, Four Cure Cycles, and No Shortcuts


The first coat of paint, applied in two layers, requires five to seven days to fully cure before the next step can begin, or so we have been told by the painters who know this process best.
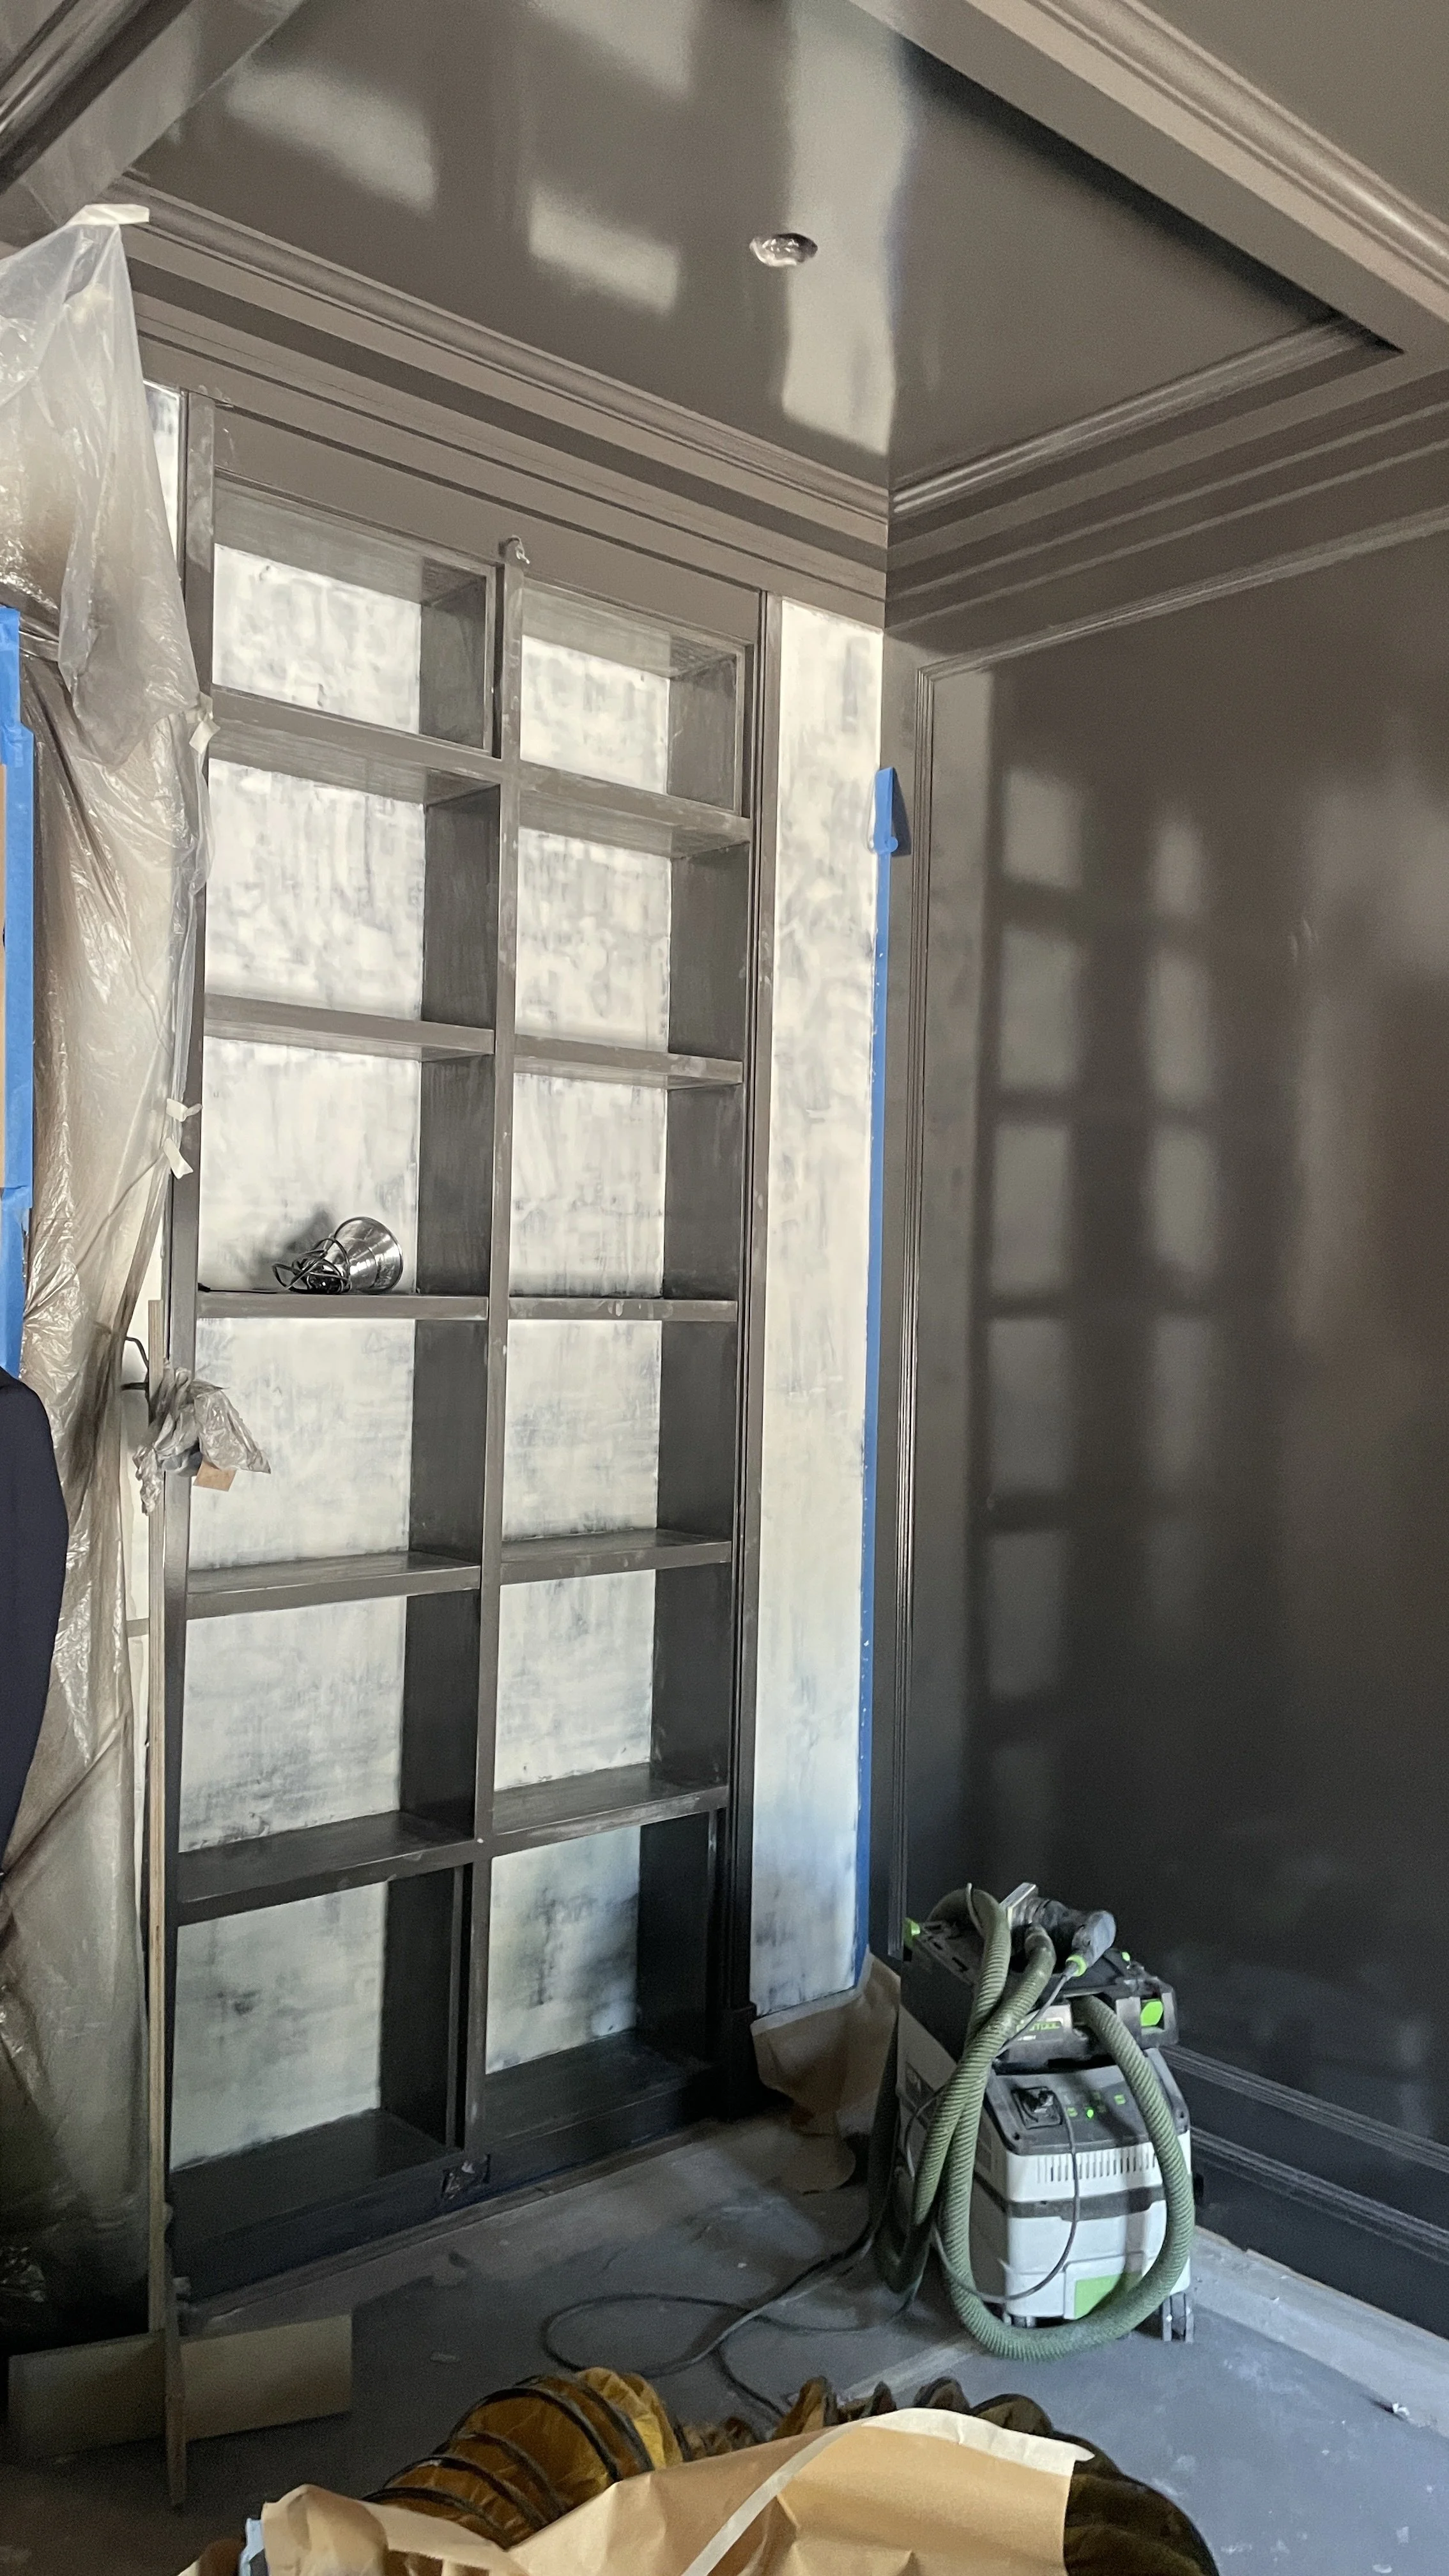
After curing, another round of Bondo addresses any imperfections that the paint has revealed, followed by sanding through 800, 1000, and 1500 grit. The finish gets progressively finer at every stage, moving the surface closer and closer to the mirror-like quality that defines a true lacquer result.
The second coat is applied in segments, by necessity. Cabinets are painted first and allowed to cure five to seven days, then covered and protected. Walls receive their second coat and cure for another five to seven days, then are covered. The ceiling follows, with its own cure window. If, after all of this, a third round is warranted, the process begins again. In total, the cure cycles alone can account for four or more weeks of elapsed time, before factoring in the labor at each stage. According to the painters executing this process, each paint application involves 28 individual steps.
Having seen this process up close, we finally understand why the finish costs what it does. And this is why the result looks the way it does.
Pro Design Tip: When budgeting for a high-gloss lacquer finish, plan for the timeline as carefully as you plan for the cost. The cure cycles are non-negotiable. Rushing them compromises the final result in ways that cannot be corrected without starting over.

The Aesthetic
What High-Gloss Lacquer Actually Does to a Room
The first thing to understand about high-gloss lacquer is that it does not merely add shine. It adds depth. A flat finish sits on the surface of the wall. Lacquer pulls you in. The reflective quality creates what designers sometimes describe as a liquid quality in the color, as though the wall itself has a second layer of dimension just beneath the surface. Saturated colors become almost luminous. Deep, moody tones take on a richness that no matte or satin finish can replicate.
The finish also has a relationship with light that is unlike anything else in a room. As natural light shifts throughout the day, a lacquered wall will shift with it, reading slightly differently in the morning than in the afternoon, and differently again in the evening under artificial light. This is not a flaw. It is one of the finish's most extraordinary qualities. The room becomes dynamic in a way that has nothing to do with furniture or accessories.
It is worth noting, too, that the process of achieving this finish means that the surface itself becomes exceptionally durable. The multiple layers of primer, compound, and paint create a hard, sealed shell that resists scuffs and marks far better than standard painted walls. In the right application, a high-gloss lacquer finish will outlast nearly every other wall treatment in the home.
Pro Design Tip: When choosing a color for lacquered walls, go darker than your instinct suggests. The reflective nature of the finish intensifies lighter colors in ways that can feel overwhelming at full scale. Deep greens, rich navies, saturated blacks, and complex neutrals tend to perform beautifully, gaining luminosity without losing their grounding quality.

Where it works
The Rooms and Applications We Reach For It
We are intentional about where we specify high-gloss lacquer and that selectivity is what makes it so effective. The finish rewards rooms where you want an immersive, intentional experience. It does not need to cover every wall in a home to be transformative. One room done to this standard can define the character of an entire house.
Powder baths are perhaps the single best application for this finish. Small in scale, used briefly, and free from the practical demands of daily living, the powder bath is the ideal canvas for a bold lacquer treatment. Guests experience it as a complete environment. When the walls are lacquered in a deep, saturated color alongside a shaped mirror, warm metal fixtures, and a statement sink, the result is a room that feels more like an experience than a bathroom.
Dining rooms are another natural home for lacquer, particularly in deeper tones. The finish catches candlelight in a way that nothing else does, and the reflective walls create an almost cocoon-like intimacy that makes evening gatherings feel genuinely special. Consider pairing lacquered dining room walls with antique or aged textiles and soft furnishings to balance the polish of the finish with something that feels lived-in and warm.
The bar is another area that shines when treated to this special finish. It stands out like a jewel in the entertainment part of the home. It’s often smaller than dining rooms and thus will command less of the budget.
Libraries and home offices benefit from the same finish. A deeply lacquered room signals focus and intention. There is a reason that the great private libraries of Europe were often finished in dark, lustrous surfaces. The finish creates an environment that feels like it takes its contents seriously. Paired with warm wood shelving, leather, and burnished metals, a lacquered library is one of the most enduring and sophisticated rooms a home can have.
Entryways and foyers are also a compelling choice, particularly when the ceiling height and natural light can be controlled. The first impression a home makes is set in this space, and a lacquered entry communicates craftsmanship and intention from the moment a guest arrives.
Pro Design Tip:In rooms that receive significant natural light, consider lacquering a single feature wall or the millwork rather than every surface. A fully lacquered room in direct, bright light can feel overwhelming. In lower-light or more intimate spaces, the full treatment is where the finish truly comes into its own.
Where it does not
Knowing When to Choose Something Else
Part of what makes high-gloss lacquer so effective is knowing where not to use it. The finish is demanding in every sense of the word. It demands a perfect substrate, a controlled environment, a patient timeline, and a design context that can carry its visual weight. When those conditions are not met, the result is not simply disappointing. It is actively unflattering, because the reflective surface will reveal every imperfection in both the wall and the room.
Large, open living spaces present a real challenge for full lacquer treatments, particularly those with abundant natural light. The reflectivity that gives the finish its magic in an intimate room can become relentless in an open floor plan. The walls begin to compete with everything else in the space rather than enhancing it. In these rooms, we typically look to other high-craft finishes: a beautifully applied venetian plaster, a hand-applied matte wash, or a textural wallcovering that gives the room depth without the reflection.
Children's bedrooms, casual family rooms, and high-traffic hallways are also poor candidates, not because the finish is inherently fragile, but because the cost of maintaining it to its original standard over years of heavy use is significant. High-gloss lacquer is a finish for rooms that are treated with a degree of care. It belongs where the investment will be honored.
Finally, rooms with significant surface irregularities that cannot be corrected are not candidates at all. The preparation process is designed to create perfection before the finish is applied. If the bones of the space cannot be brought to that standard, the finish will communicate every flaw rather than conceal it.
Pro Design Tip: If you love the look of lacquer but are working in a space that is not ideal for the full treatment, consider applying it to the millwork only. Lacquered cabinetry, built-ins, or door and window trim in a high-gloss finish can introduce the elegance of the technique in a more contained way, without the substrate demands of a full wall treatment.
A Finish Worth the Investment
High-gloss lacquer is not the right choice for every project or every room. But when the space is right, when the process is executed with the level of care and patience it requires, there is simply nothing else like it. It is a finish that announces itself quietly and holds your attention for years. We have specified it in rooms that our clients still describe as their favorite space in the home long after the project is complete.
The reason, always, is the same. It is the combination of extraordinary craft and thoughtful design intent. The surface is only as beautiful as the decision-making that placed it there.
If you are curious whether a high-gloss lacquer finish belongs in your home, we would love to talk through the possibilities with you.
We are off to our next design project.
Fondly,
Pamela Hope Designs
Meet Pamela
A LUXURY INTERIOR DESIGNER IN HOUSTON
Pamela O’Brien is the founder of Pamela Hope Designs in Houston, Texas. Pamela is an award-winning luxury interior designer, writer, and speaker. Prior to founding Pamela Hope Designs, Pamela served as a spokesperson in media and public affairs, working with media outlets like Dateline NBC and 48 Hours. This experience allowed her to travel the world and furthered her love for travel, culture, and interior design. After attending an executive course at the Harvard Graduate School of Design, Pamela launched her own interior design firm full-time. Pamela is known for building strong relationships with her clients, who later become friends and collaborators. She is highly influential in the Houston interior design space and shows no signs of slowing down.


Meet Danna
A LUXURY INTERIOR DESIGNER IN HOUSTON
Danna Smith has more than 30 years of experience in the design industry. She has been a buyer and merchandiser for four luxury showrooms in Houston and Dallas. Smith teaches an evening course at Houston Community College to nurture her passion for developing future design stars. Since joining Pamela Hope Designs in 2015, she has worked on some of her most beautiful and innovative projects yet.